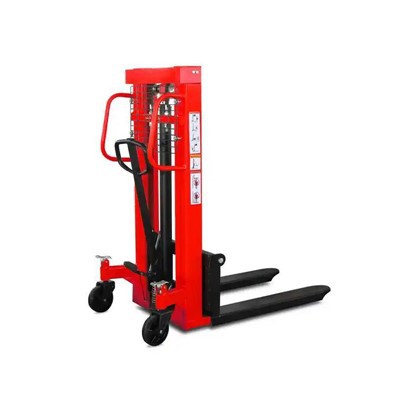
Hey there! As a supplier of the Manual Stacker 4m, I've gotten a bunch of questions about how to replace the hydraulic hose. It's actually not as tough as it might seem, and in this blog, I'll walk you through the whole process step by step.
Why Replace the Hydraulic Hose?
First off, let's talk about why you might need to replace the hydraulic hose in your Manual Stacker 4m. Over time, these hoses can wear out due to regular use, exposure to the elements, or just general wear and tear. When a hose starts to leak or shows signs of damage like cracks or bulges, it's time to replace it. A damaged hose can lead to a loss of hydraulic pressure, which can make your stacker less efficient or even unsafe to use.
Tools You'll Need
Before you start the replacement process, you'll need to gather a few tools. Here's what you'll need:
- A set of wrenches (both open-end and socket wrenches)
- A hydraulic fluid drain pan
- A new hydraulic hose that's compatible with your Manual Stacker 4m
- A clean cloth or rag
Step 1: Safety First
Safety should always be your top priority when working on any equipment. Before you start replacing the hydraulic hose, make sure the stacker is turned off and parked on a flat, stable surface. Engage the parking brake to prevent the stacker from moving. Also, wear safety glasses and gloves to protect yourself from any hydraulic fluid that might leak out.
Step 2: Drain the Hydraulic Fluid
The next step is to drain the hydraulic fluid from the system. Locate the hydraulic fluid reservoir on your Manual Stacker 4m. It's usually a small tank near the hydraulic pump. Place the drain pan underneath the reservoir and carefully open the drain valve. Let the fluid drain out completely into the pan. This might take a few minutes, so be patient. Once the fluid has drained, close the drain valve.
Step 3: Locate the Hydraulic Hose
Now it's time to find the hydraulic hose that needs to be replaced. The hose is usually connected to the hydraulic pump and the lifting cylinder. Follow the hoses from the pump to the cylinder to identify the damaged hose. You might need to use a flashlight to see clearly, especially if the hoses are located in a tight space.
Step 4: Disconnect the Old Hose
Once you've located the damaged hose, it's time to disconnect it from the system. Use the wrenches to loosen the fittings that connect the hose to the pump and the cylinder. Be careful not to over-tighten or strip the fittings. As you loosen the fittings, some hydraulic fluid might leak out. Use the clean cloth or rag to wipe up any spills.
Step 5: Remove the Old Hose
After you've disconnected the fittings, carefully remove the old hose from the stacker. Be careful not to damage any other components or hoses in the process. You might need to wiggle the hose a bit to get it free.
Step 6: Install the New Hose
Now it's time to install the new hydraulic hose. First, make sure the new hose is the correct length and has the right fittings for your Manual Stacker 4m. Connect one end of the hose to the hydraulic pump and tighten the fitting with the wrenches. Then, connect the other end of the hose to the lifting cylinder and tighten the fitting. Make sure the fittings are tightened securely, but don't over-tighten them.


Step 7: Refill the Hydraulic Fluid
Once the new hose is installed, it's time to refill the hydraulic fluid. Pour the hydraulic fluid back into the reservoir using a funnel. Make sure to use the correct type of hydraulic fluid for your stacker. Check the owner's manual for the recommended fluid type and capacity. Fill the reservoir to the recommended level.
Step 8: Check for Leaks
After refilling the hydraulic fluid, it's important to check for leaks. Start the stacker and let it run for a few minutes. Look for any signs of hydraulic fluid leaking from the fittings or the new hose. If you see any leaks, turn off the stacker and tighten the fittings a little more. If the leak persists, you might need to replace the fitting or the hose again.
Step 9: Test the Stacker
Once you've checked for leaks and everything looks good, it's time to test the stacker. Lift and lower the forks a few times to make sure the hydraulic system is working properly. Check the lifting speed and the stability of the stacker. If everything seems to be working fine, you're done!
Tips and Tricks
- If you're not comfortable replacing the hydraulic hose yourself, you can always hire a professional mechanic to do it for you.
- Make sure to keep the hydraulic fluid clean and free of debris. Contaminated fluid can cause damage to the hydraulic system.
- Regularly inspect the hydraulic hoses for signs of wear and tear. Replace any damaged hoses as soon as possible to prevent further damage to the stacker.
Conclusion
Replacing the hydraulic hose of your Manual Stacker 4m might seem like a daunting task, but with the right tools and a little bit of know-how, it's definitely doable. By following the steps outlined in this blog, you can replace the hose safely and effectively. Remember, safety should always be your top priority, so make sure to take all the necessary precautions.
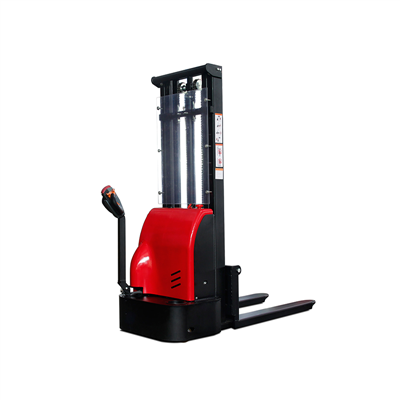
If you're in the market for a new Manual Stacker 4m or need replacement parts, we've got you covered. We offer a wide range of high-quality stackers, including the 500kg Manual Stacker, 2 Ton Manual Stacker Hydraulic, and 1500kg Manual Stacker. If you have any questions or want to discuss your specific needs, feel free to reach out to us for a procurement discussion.
References
- Owner's manual of Manual Stacker 4m
- Hydraulic system maintenance guides